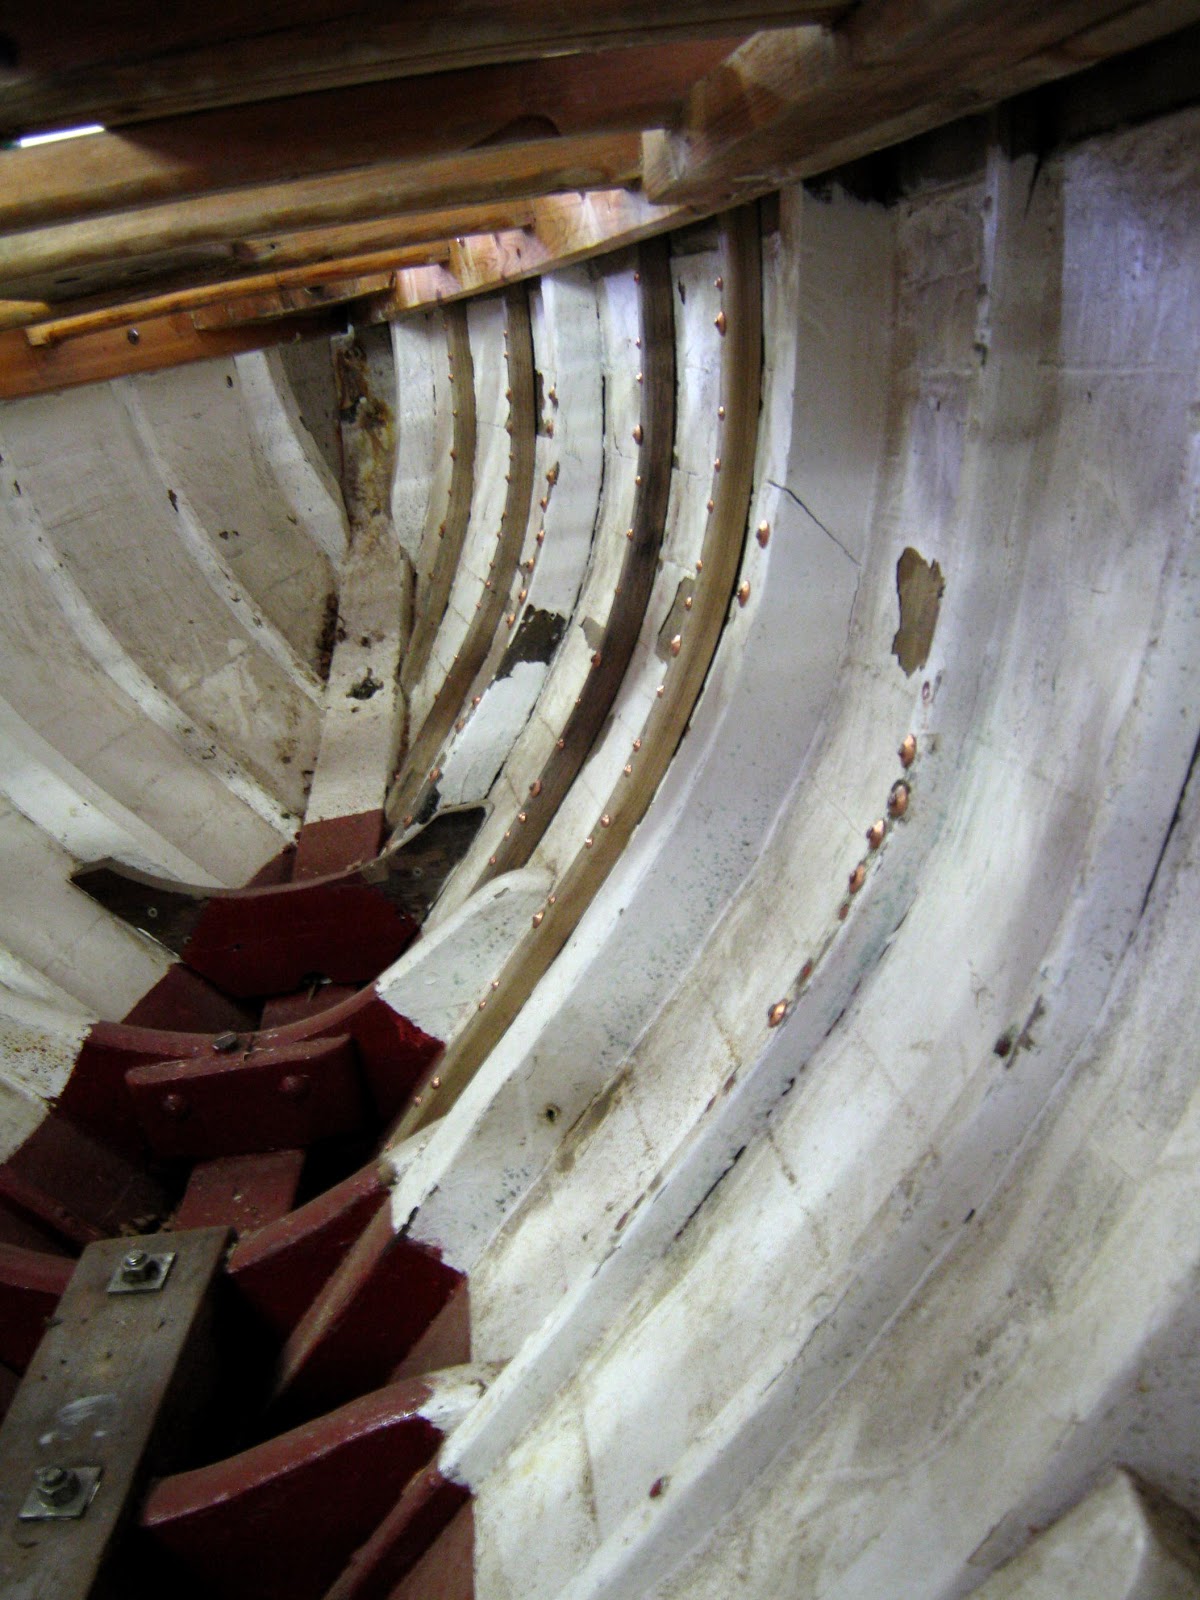
clinker boat under construction, dragon with new cedar deck, solid cherry unit, large solid cherry
We handcraft beautiful wooden boats and furniture.
Wednesday, December 12, 2012
Deilginis leaves our workshop
With all the deck fittings back in place, and the trailor serviced for the trip, Deilginis is getting ever closer to being back in the water again.


Thursday, December 6, 2012
The finishing touches...
Deilginis is receiving her finishing touches:
-The deck seams have been sealed with sikaflex and sanded flush.
- All the deck fittings have been dry-fitted and the deck predrilled for fixing them.
- The cockpit washboard has been refurbished and fitted into the new deck.
- A new mast-collar of laminated purple heart has been fitted.

Notice how the Rubbing Strake has been fitted a few millimeters below the Sheer to give it that beautiful elegant look.
The Toerails have been set into the Coaming by half an inch, allowing for easy maintenance in the future.
The main deck area has been left unvarnished - this will eventually go a uniform grey and will contrast nicely with the varnished King plank and Coamings. Leaving the deck unvarnished gives it more grip and also makes it easier to maintain.
-The deck seams have been sealed with sikaflex and sanded flush.
- All the deck fittings have been dry-fitted and the deck predrilled for fixing them.
- The cockpit washboard has been refurbished and fitted into the new deck.
- A new mast-collar of laminated purple heart has been fitted.

Notice how the Rubbing Strake has been fitted a few millimeters below the Sheer to give it that beautiful elegant look.
The Toerails have been set into the Coaming by half an inch, allowing for easy maintenance in the future.
The main deck area has been left unvarnished - this will eventually go a uniform grey and will contrast nicely with the varnished King plank and Coamings. Leaving the deck unvarnished gives it more grip and also makes it easier to maintain.
Friday, November 16, 2012
Swept Deck for Deilginis

There are few things more satisfying than completing a timber swept deck.
The most important things to get right while preparing the deck is to make the coamings fair and as equal as possible on both sides of the boat, and also to set and mark out the king plank. It is very difficult to hide differences between the two sides.
The king plank has been widened by two cheeks around the mast, just to reinforce it.
Now that the deck is fully laid, the screw holes will be plugged, and the entire deck sanded to a fair surface. The grooves for the sikaflex will then be corrected with a chisel. It is then ready to seal.
Friday, November 9, 2012
Fairing and painting the hull of Deilginis
Wednesday, November 7, 2012
The beginnings of a new deck on Deilginis.
Working from the keel upwards, we have finally come to the satisfying work of laying the deck. The coamings are fitted first, followed by the King plank. The greatest challenge is to make it all work out symmetrically with even planking and the gaps for the black sikaflex pleasing and regular.
The damaged ribs have been replaced , and some of the other ribs refastened. with this work done, the hull is now ready to repaint.
Tuesday, October 16, 2012
Our new exciting project: Deilginis!
We are very proud to have Deilginis, one of the original Howth Seventeens, in our workshop for repairs and redecking. This is the oldest one-design class in the world! Click here for more on their history.
After what seemed a little like a chinese mind puzzle, we succeeded in fitting Deilginis into our workshop on her trailor. The decking is now being carefully ripped off and the hull scraped.
Scraping the hull is not only essential for the final repainting, it also allows us to examine it carefully for areas which need attention. Several ribs need replacing, so these areas need to be exposed to allow a clean removal of fastenings.
Working on the keelbolts is also much easier with the deck removed - so the sequence with which we go about this job is important.
Sunday, October 7, 2012
Timbers, Gunwhales, Stringers, Thwarts...
We have once again made dramatic progress on our "workshop boat" - together with our four enthusiastic participants of our recent 3-day steaming workshop, the boat is almost ready to ride the waves!
We used oak for the gunwhales and timbers ( ribs), douglas fir for the stringers, rubbing strakes and thwarts.
We have even come up with a name - to be revealed later...
We used oak for the gunwhales and timbers ( ribs), douglas fir for the stringers, rubbing strakes and thwarts.
We have even come up with a name - to be revealed later...
Friday, September 28, 2012
Warming up for our upcoming steaming workshop!
In preparation of our upcoming workshop, we have painted the hull of our student boat and steamed some ribs into it, making sure that we have all the equipment, tools and materials ready for next week.
As always, steaming timber feels like magic - exciting, inspiring. The boat really does feel like a boat now - strong and sturdy.
One just can't stop looking at it...
To participate in our upcoming workshop (4th,5th and 6th of October) contact us:
ruiandanke@gmail.com
tel:0868243073
As always, steaming timber feels like magic - exciting, inspiring. The boat really does feel like a boat now - strong and sturdy.
One just can't stop looking at it...
To participate in our upcoming workshop (4th,5th and 6th of October) contact us:
ruiandanke@gmail.com
tel:0868243073
Thursday, September 20, 2012
Swept deck in solid cedar
As part of a complete restoration of a 1969 Borensen Built Dragon, we laid this solid cedar swept deck. The advantage of using cedar is that it is very light. The disadvantage is that it is quite soft - so discipline is required in what shoes are allowed on board.
The cedar was relatively easy to bend and work with.
Friday, September 14, 2012
Our student boat is ready for timbering -out!
The old west cork clinker boat we began lofting this time last year is now fully planked. Our series of workshops will now continue with steaming in the ribs and gunwhales.
The Steaming Workshop will be held on the 4th,5th and6th of October. Visit http://boatbuildingskills.blogspot.com/ for more details.
Thursday, July 12, 2012
Getting ready for the Classic Dinghy Regatta in Schull!
We've been busy with preparations for the first ever Classic Dinghy Regatta to be held in Schull on the 21st and 22nd of July. Visit Sailing The Ettes on facebook for more news...
Here is a picture of some of the prizes we're making - we want every boat to get one - every wooden boat being sailed deserves a prize!
Tuesday, May 8, 2012
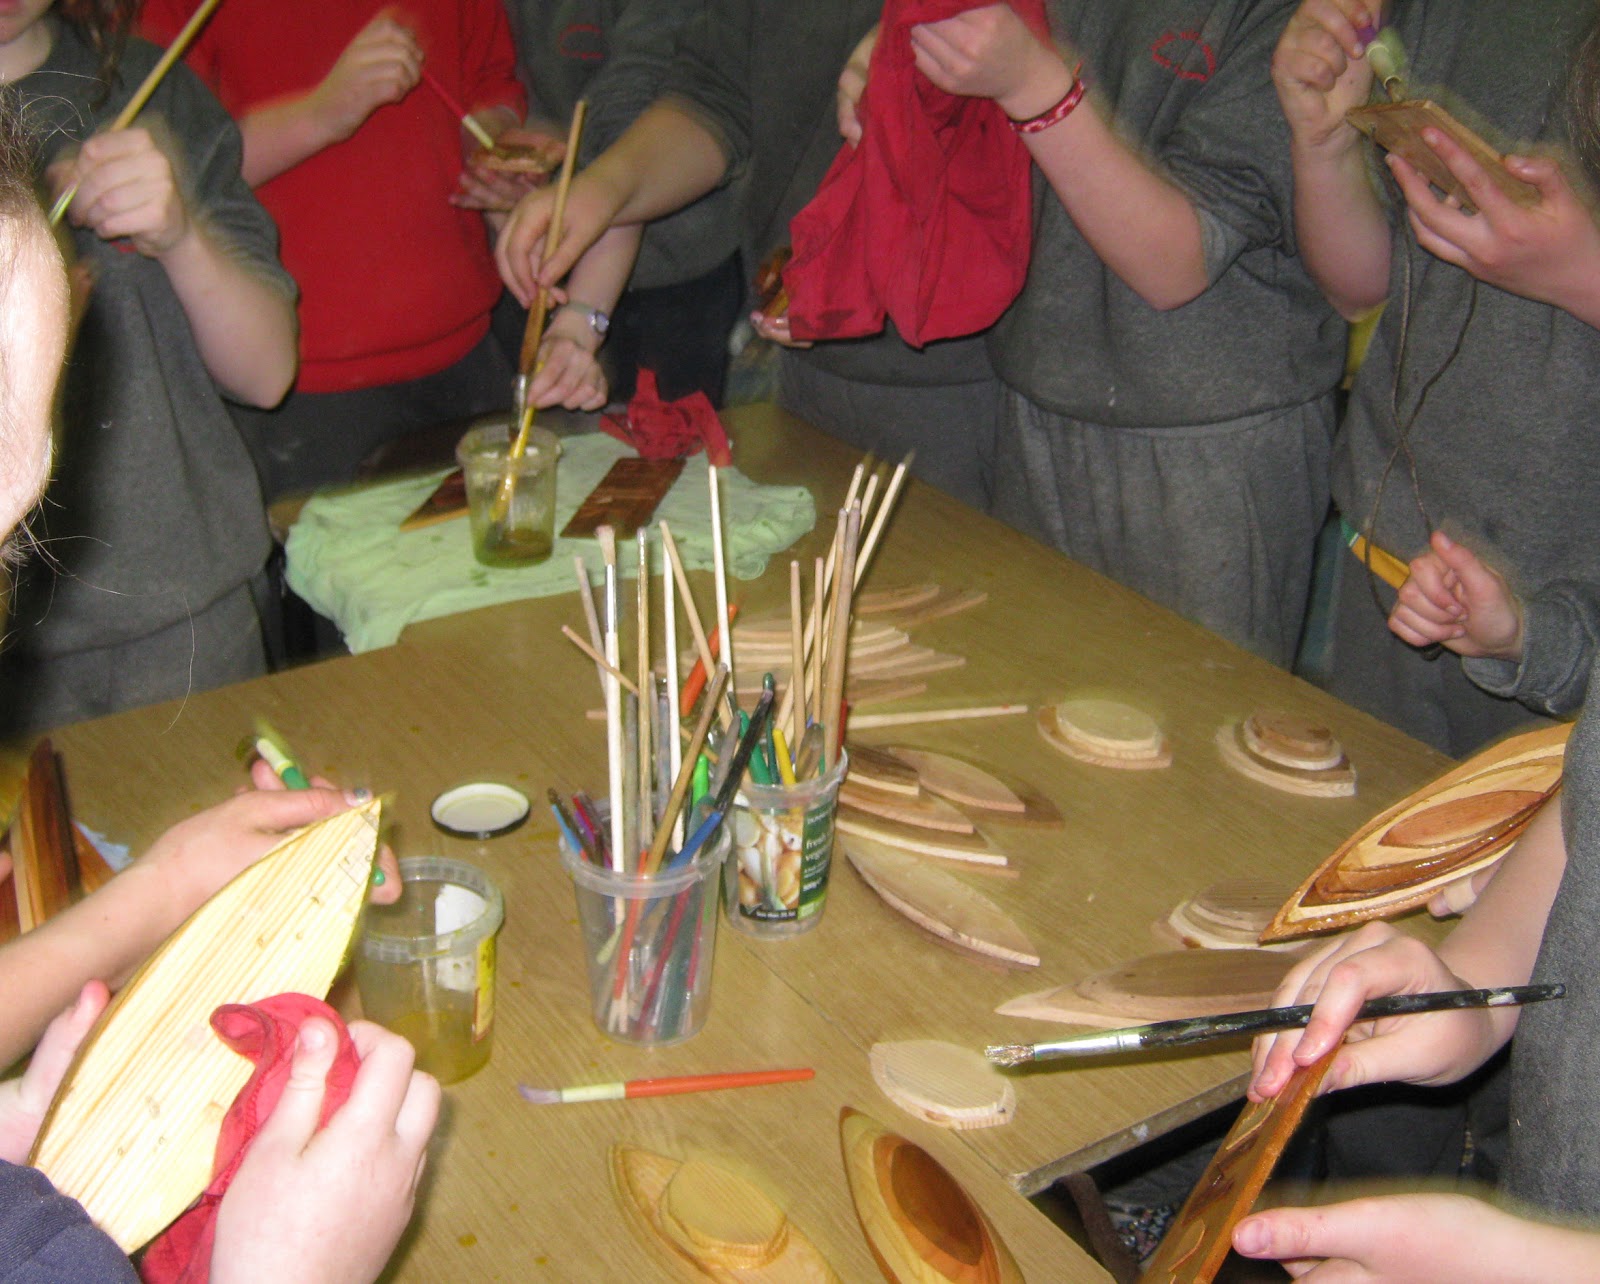
Making wooden boat models with children at Rosscarbery school
As part of the CRAFTed initiative organized by the Crafts Council of Ireland, Anke has been doing a 5 week project with 5th and 6th class of Scoil Naisiunta Mhuire in Rosscarbery.
Using a technique inspired by the "bread and butter half models" ( a 3D modelling technique used by boatbuilders for hundreds of years), they laminated thin pieces of wood into "floating objects.
Even though I had cut out about 200 lozenge shapes ( inspired by the Broighter Boat) of various shapes and sizes - it was difficult for the children to find the exact shapes they wanted.
Spokeshaves were used to shape the pieces. I made special bench hooks to allow easy clamping.
The following week, the models were shaped up using spokeshaves, rasps and sandpaper. this was pretty hard work! The most sought after tool was the spokeshave. We only had four for the whole class ( 22 pupils). I had plenty of rasps and stanley surforms, but the spokeshave was definitely the most effective. For future projects I would definitely invest in more spokeshaves. They are such a great tool for kids!
I made angled clamping sticks onto which the models were screwed.But, I had underestimated the backset of the metal structure under the desk tops - this made it quite tricky to clamp the sticks onto the desks properly. I'll have to work on that one.Oiling the models at the end of the two hour session was like a well deserved reward for everyone!
Once everyone had oiled their pieces and we had cleaned up the mess ( amazing how the classroom can look like a crazy woodshop in only one hour !) we layed the pieces into a fleet and talked about where we see ourselves in the "class fleet" - sailing in company.
Designing rigging and sails was the next challenge!
Sunday, April 22, 2012
Progress on our student boat
Tucking the plank ends into that transom was quite challenging. During the lofting we didn't quite determine what would happen in this area. So we left the bevel on the transom flatter than was needed. So, a bit of chiseling ( see below) was neccessary to make things come together.
Planking should become easier from now on. Up to now, we have had to steam both ends of each plank...
To learn more about the way we do clinker planking, please visit http://boatbuildingskills.blogspot.com/
You will also find info there on our upcoming workshops
Friday, March 23, 2012
Getting ready for the season!
With four Castletownshend Ettes being revarnished as well as the new project coming up (see moulds and backbone on the left) there is barely any room left to walk in our workshop!
It's exciting to see the boats like this and to look forward to the months of sailing ahead...
See "Sailing the Ettes" on facebook to see what the ette sailors are up to for the season.
We've been experimenting with various varnishes. For several years we've been using Le Tonkinois, which is pleasant to apply, but seems to require meticulous sanding between coats - a lot of work! We've also tried Deks Olje - the penetrating characteristics of the D1 appealed to us. But we found it really difficult to get D2 to dry in our workshop. D1 seems to be an excellent product to use in the interior of our clinker boats - we clean and dry them carefully before saturating them in the oil.
For the exterior, we are now using Epifanes. The great thing about this varnish is that it finishes well and that one can apply several coats without sanding between them
In the foreground, you can see Sagette's deck, Roulette in the centre, and Minuette and Muckette behind. To the left is the backbone structure of the 16ft fishing boat which we are building with our students in an ongoing series of workshops.
Visit http://boatbuildingskills.blogspot.com/ for info on our series of boatbuilding workshops.
It's exciting to see the boats like this and to look forward to the months of sailing ahead...
See "Sailing the Ettes" on facebook to see what the ette sailors are up to for the season.
We've been experimenting with various varnishes. For several years we've been using Le Tonkinois, which is pleasant to apply, but seems to require meticulous sanding between coats - a lot of work! We've also tried Deks Olje - the penetrating characteristics of the D1 appealed to us. But we found it really difficult to get D2 to dry in our workshop. D1 seems to be an excellent product to use in the interior of our clinker boats - we clean and dry them carefully before saturating them in the oil.
For the exterior, we are now using Epifanes. The great thing about this varnish is that it finishes well and that one can apply several coats without sanding between them
In the foreground, you can see Sagette's deck, Roulette in the centre, and Minuette and Muckette behind. To the left is the backbone structure of the 16ft fishing boat which we are building with our students in an ongoing series of workshops.
Visit http://boatbuildingskills.blogspot.com/ for info on our series of boatbuilding workshops.
Friday, March 9, 2012
The Gardboards are fitted!
Our students have returned to start planking the boat we started lofting back in October.
Look at the amazing twist on that gardboard! We had to steam both ends of it to get the shape right.
We managed to get our hands on some Irish Douglas Fir - freshly cut near Kaelkill, West Cork.
It steamed beautifully. We used our localised steaming method, which is much more effective and economical than traditional methods. Come to our next Clinker Planking Workshop to find out how it's done!
If you would like to learn the secrets and tricks of Clinker planking, contact us. We will continue to run planking workshops until the boat is planked. Our upcoming session will be on March 30th up to April 1st. For more info visit: http://boatbuildingskills.blogspot.com/
Look at the amazing twist on that gardboard! We had to steam both ends of it to get the shape right.
We managed to get our hands on some Irish Douglas Fir - freshly cut near Kaelkill, West Cork.
It steamed beautifully. We used our localised steaming method, which is much more effective and economical than traditional methods. Come to our next Clinker Planking Workshop to find out how it's done!
If you would like to learn the secrets and tricks of Clinker planking, contact us. We will continue to run planking workshops until the boat is planked. Our upcoming session will be on March 30th up to April 1st. For more info visit: http://boatbuildingskills.blogspot.com/
Subscribe to:
Posts (Atom)


a.jpg)